 |
|||
|
|
|||
|
Page Title:
RADIATOR PRESSURE CAP |
|
||
| ||||||||||
|
|
 TM 10-3930-644-14&P
2. If spacers were present between radiator
NOTE: Allow engine to reach normal
mounting flange and frame, be sure to replace in
operating
temperature.
The
their original locations.
Use spacers as
thermostat will then open and the
necessary to prevent fan from hitting radiator.
coolant will flow into the engine.
3. With radiator properly aligned, install two
Coolant level must then be "topped-
capscrews through radiator mount to frame
up."
support bars.
4. Install grille and secure grille and radiator with
8. Replace the side panels, and lower operator's
two capscrews. Secure grille with two remaining
seat.
capscrews. Install muffler and tail pipe section r
(ACP only).
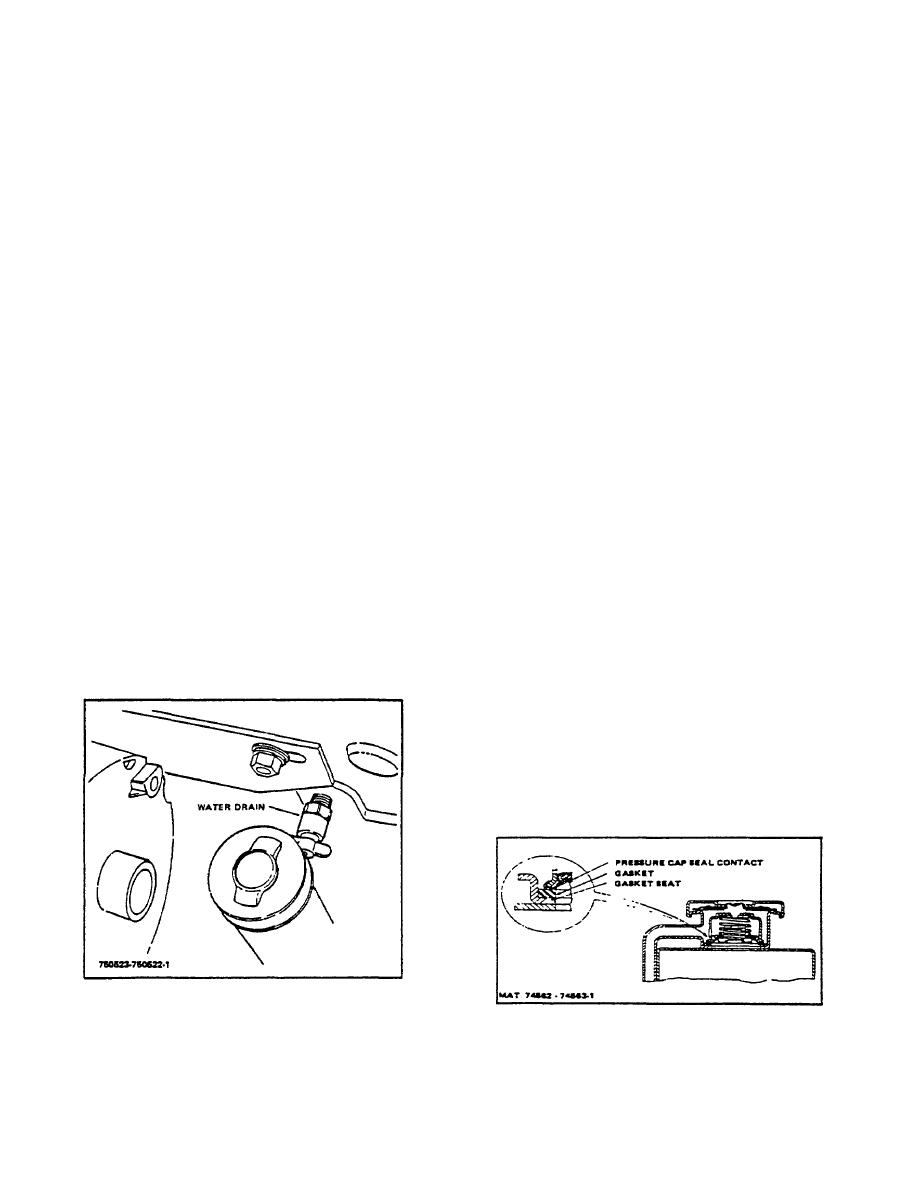
D. RADIATOR PRESSURE CAP
A seven-pound pressure cap (Figure 2-3) is installed on
NOTE
the radiator filler neck. As long as there is pressure in
The oil cooler lines will have to be
the cooling system, the temperature can be considerably
reinstalled.
higher (over 220F) than the boiling point of the solution
5. Install upper and lower radiator hoses and
in the radiator at atmospheric pressure without causing
secure retaining clamps. If hoses are cracked or
the solution to boil. Removal of the radiator cap while
cut, they must be replaced.
the engine is hot and the pressure is high will cause the
solution to boil instantaneously and possibly with
6. After radiator is installed, measure distance
explosive force, spewing the coolant over the engine and
between the leading edge of the fan blades and
the person removing the cap. There is also the
the radiator core.
possibility of causing serious burns.
This dimension should be at least 7/8". Also
Pressure caps should be checked at least once a
ensure that the cooling fan is properly centered
year and care should always be taken in filling
within the radiator shroud.
radiators that no damage is done to the pressure
cap seat in the radiator filler neck.
7. Close the cooling system drain cock located
below the alternator and at bottom of radiator
CAUTION
(Figures 2-1 and 2-2).
Fill system to
When removing the filler cap, rotate
recommended capacity with coolant; replace
cap counterclockwise very slowly; if
pressure cap and check for any leaks.
hissing of vapor is encountered,
tighten cap immediately and wait for
system to cool sufficiently to allow
removal of cap.
After pressure in the system has been relieved, turn cap
counterclockwise and remove.
Turn cap clockwise when installing.
Cap must form a
tight seal to prevent any leakage.
Figure 2-2. Water Drain NOTE
Figure 2-3. Pressure Cap, Section View
M-155-1
2-42
|
|
Privacy Statement - Press Release - Copyright Information. - Contact Us |
