 |
|||
|
|
|||
|
|
|||
| ||||||||||
|
|
 TM 10-3930-644-14&P
TOPIC 2. RADIATOR
A. DESCRIPTION
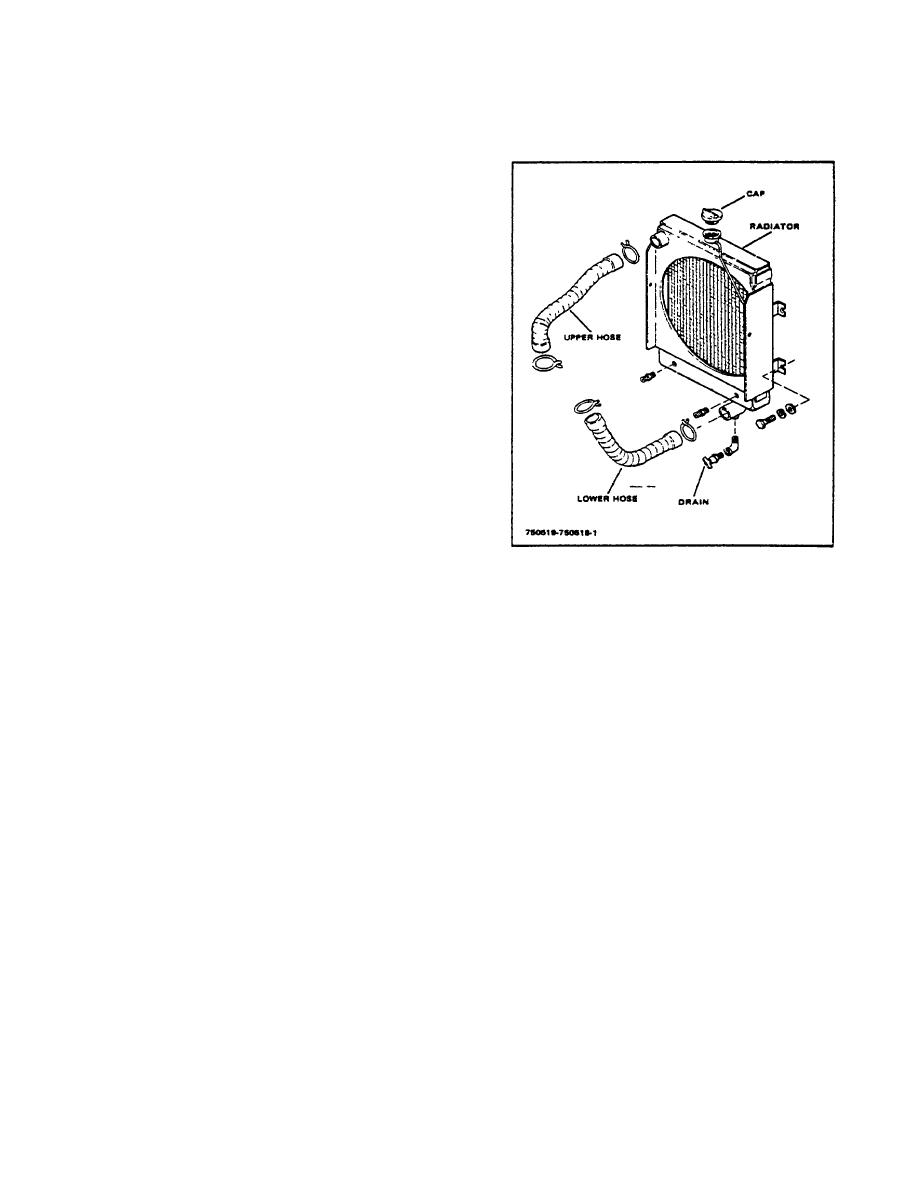
The radiator (Figure 2-1) is of the fin and tube type and
is vertically supported by angle bracing to the truck
frame. The front of the radiator is protected from
structural damage by a heavy grille mounted in the
counterweight. An overflow tube is connected to the
filler neck and leads to the bottom of the radiator.
B. REMOVAL
When it becomes necessary to remove the radiator for
service, the following procedure is recommended:
1. Remove the side panels and raise the operator's
seat.
2. Remove the radiator cap, open the drain cocks
located underneath the alternator (Figure 2-2)
and in radiator outlet elbow to drain the cooling
system.
CAUTION
When removing the filler cap, rotate
the
cap
counterclockwise
very
Figure 2-1. Radiator Assembly
slowly; if hissing of vapor is
encountered, tighten cap immediately
5. Remove the capscrews which hold the radiator
and wait for system to cool
in position on the mounting bars located on the
sufficiently to allow removal of cap.
frame inside the counterweight.
CAUTION
NOTE: A quantity of spacers may
Never pour cold-water or cold anti-
have been used between the radiator
freeze into the radiator of an
and the mounting bars.
These
OVERHEATED ENGINE. Allow the
spacers must be replaced exactly as
engine to cool and avoid the danger
removed.
of cracking the cylinder head or
block. Keep engine running while
6 Slide the bottom of the radiator out of position.
adding water.
After the filler neck of the radiator has cleared
the inside top of the counterweight, the radiator
3. Loosen the retaining hose clamps and remove
can easily be removed.
the inlet and outlet hoses from the top and
bottom of the radiator.
NOTE
Refer to REPAIR MANUAL for proper
NOTE
RADIATOR INSPECTION, TESTING
An oil cooler is an integral part of the
and REPAIR.
bottom of the radiator to prevent
overheating of the transmission. The
C. INSTALLATION
oil cooler lines must be removed
prior to removing the radiator.
1. Slide radiator up into mounting position within
the counterweight, ensuring against any damage
4. Remove securing capscrews and the radiator
to filler neck or cooling fins.
grille from the back of the frame. Also remove
only).
M-155-1
2-41
|
|
Privacy Statement - Press Release - Copyright Information. - Contact Us |
