 |
|||
|
|
|||
|
|
|||
| ||||||||||
|
|
 TM 10-3930-644-14&P
6. Tighten the contact assembly locking screw.
7. Install dust seal, rotor and cap.
8. Start engine and recheck dwell reading on
meter.
Needle should now hold steady at
specified dwell angle. If so, remove dwell meter
and remove remote switch.
If not, repeat
procedure starting with item 4 above.
I. STATIC IGNITION TIMING
The exact timing of the spark depends on the actual
breakage, or opening, of the electrical contact across the
points. Should there be any question as to the accuracy
of point setting relative to the engine timing mark, the
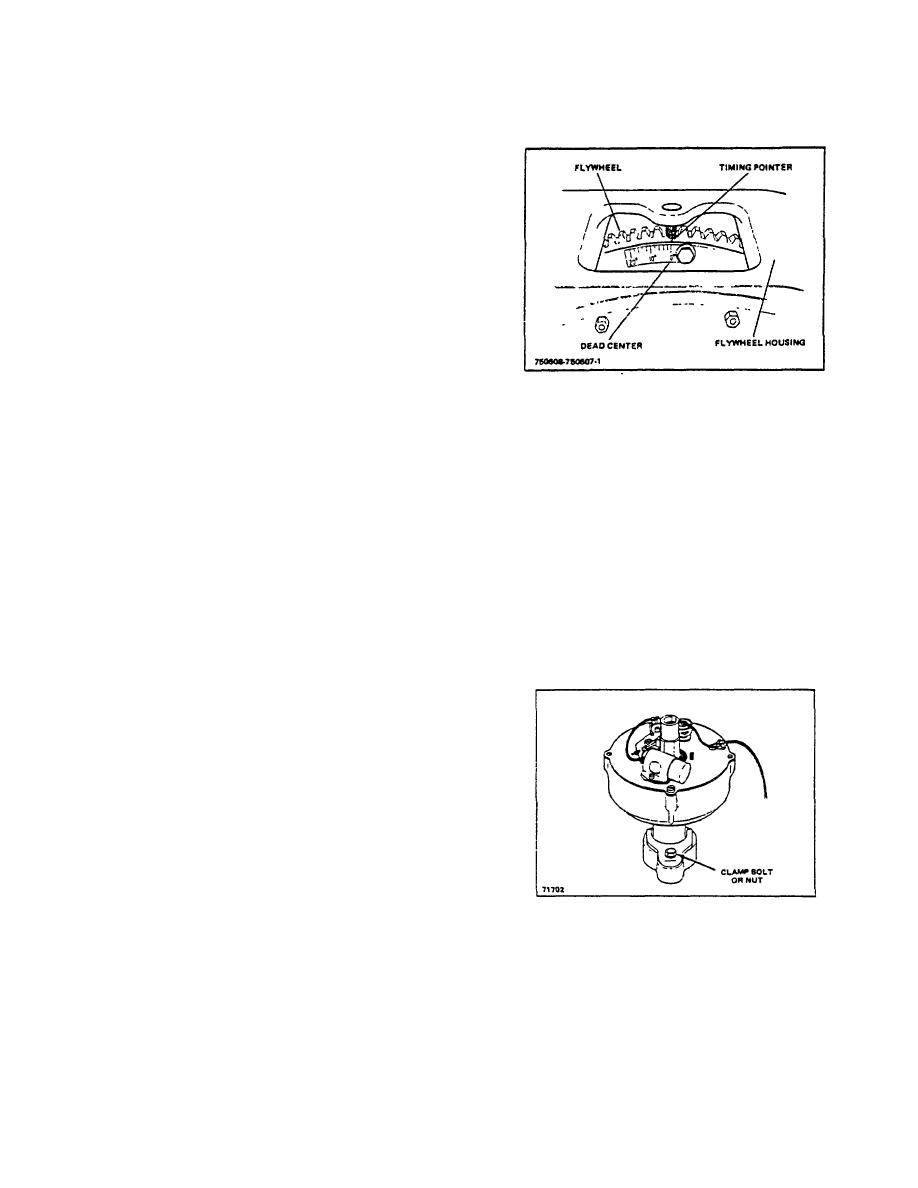
Figure 5-5. Flywheel Timing Marks
use of one of the following methods is recommended.
goes out, turn back to the original position and
1. Make up a simple light circuit consisting of an
repeat the procedure.
automotive light bulb with soldered on lead: or a
10.
When you have located the distributor in the
socket with lead wires attached.
proper position (with test lamp out) tighten
2. Remove distributor cap, rotor and dust seal.
distributor hold down clamp.
Ensure that distributor point gap is properly set.
11.
With the test lamp still connected, check for
See specifications for distributor.
proper setting by releasing tension on rotor.
3. Loosen distributor clamp (Figure 5-6).
a. With rotor held against rotation, light
4. Remove timing window cover on flywheel
should go out.
housing and remove the spark plug from number
b. With rotor released, test lamp should be
one cylinder.
on.
5. Place thumb over spark plug opening and rotate
12.
Remove test lamp. Replac e dust seal, rotor and
engine crankshaft by hand until outward
distributor cap.
pressure against thumb is felt. Continue turning
13.
Install spark plug.
crankshaft until D.C. mark (Figure 5-5) is aligned
with timing pointer at center of timing window.
6. Clip one lead to positive, or ungrounded, side of
the battery. Attach the other lead to the primary
wire connection on the side of the distributor
(Type I) or the distributor coil negative terminal
(Type II).
7. hold rotor against rotation. Rotate distributor
slowly in the direction of rotation until test lamp
just lights. Now start the adjustment.
8. Very slowly turn the distributor housing against
the direction of shaft rotation until the test lamp
goes out. Stop immediately. Do not pass this
point or turn the Distributor housing back and
forth to locate it.
9. Should you turn the housing too fast or too far
Figure 5-6. Distributor Timing adjustment (Typical)
beyond the point where the light
M-104-1
2-9
|
|
Privacy Statement - Press Release - Copyright Information. - Contact Us |
