 |
|||
|
|
|||
|
|
|||
| ||||||||||
|
|
 TM 10-3930-634-34
open circuits and grounds, as instructed in TM 5-764.
Replace a defective armature.
(2) Test the field coils with a multimeter for con-
tinuity and ground as instructed in TM 5-764. Replace
a defective field coil.
(3) Use a multimeter and test for continuity be-
tween the insulated brush holder and commutator end
frame. If continuity is indicated, the commutator end
frame is defective and must be replaced,
the generator in reverse of numerical sequence.
g. Bench Testing. Install a suitable adapter plug in
the connector. Connect a voltmeter between the field
field rheostat, battery switch, and fully-charged 24-
volt battery in series with each other; and connect the
group, the field terminal, and the generator frame.
Close the battery switch and adjust the field rheostat
for a reading of 24 volt on the voltmeter. The ammeter
reading should be between 0.9 and 1.07 amperes, If
current does not fall within this range, inspect the
field frame terminal, terminal insulation, internal con-
nections and field coils for defects.
h. Installation. I n s t a l l t h e g e n e r a t o r ( T M
10-3930-634-12).
3 - 8 . Voltage Regulator
a. General. The regulator essentially consists of a
carbon pile variable resistance element and a main re-
lay. It is fitted with an inlet receptacle and an outlet
receptacle for cable connection to the battery charging
circuit.
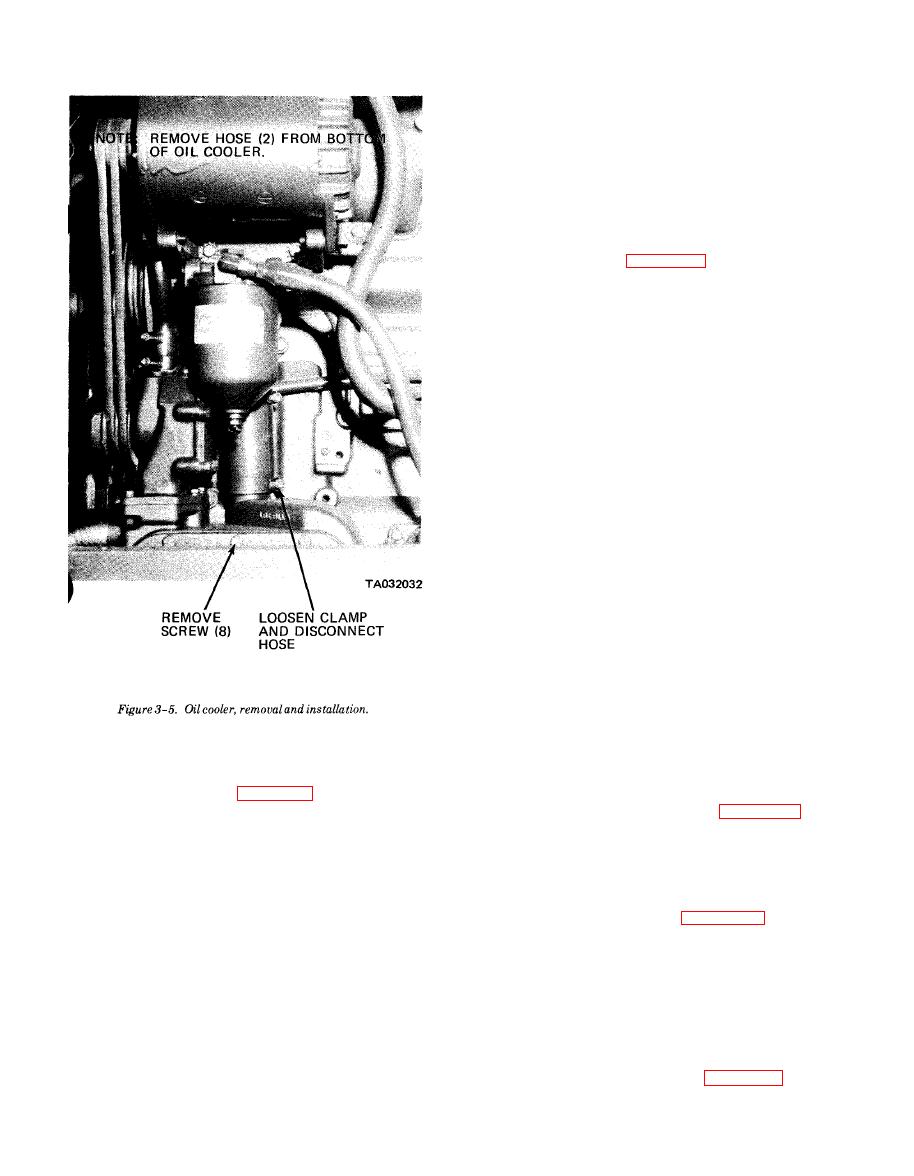
b. Removal. Remove the voltage regulator (TM
10-3930-634-12).
c. Cleaning and Inspection.
(1) Clean all metal parts.
capacity of the generator.
(2) Inspect the cover assembly, regulator box and
b. Removal. R e m o v e t h e g e n e r a t o r ( T M
components for damage and loose connections.
. 10-3930-634-12).
(3) Inspect relay contacts for burned or pitted con-
c. Disassembly. Refer to figure 3-7 and disassemble
dition. Dress the contacts if necessary.
the generator in numerical sequence.
d. Cleaning and Inspection.
and 3-82 and adjust the regulator. These adjustments
(1) Clean the generator components, preferably
are to be performed with the regulator removed from
using a solvent that complies with Spec. TT-T-291
the equipment.
e. Installation. I n s t a l l t h e r e g u l a t o r ( T M
Grade T, although solvent P-D-680 may be used if
necessary. Do not soak parts in solvent. Dry with
10-3930-634-12).
clean, dry compressed air. Take care not to damage in-
sulation, cables or windings.
and 3-85 and perform the indicated adjustments with
(2) Clean all bearings.
the regulator installed on the forklift truck.
(3) Inspect screws, bolts, nuts and plugs for worn
3-9. Starter
r damaged threads.
(4) Inspect brushes for wear.
a. General. The 24 Vdc starter is mounted to the fly-
wheel housing. The starter has a shift lever and sole-
(5) Inspect commutator bars for roughness and
itting. Replace all defective parts.
noid plunger that are totally inclosed for protection
e. Testing.
from road dirt, icing conditions, and road splash.
(1) Test the armature on a growler for shorts,
|
|
Privacy Statement - Press Release - Copyright Information. - Contact Us |
