 |
|||
|
|
|||
|
Page Title:
Cleaning, Inspection, and Repair |
|
||
| ||||||||||
|
|
 TM 10-3930-632-34
a bell-mouthed shape or guides that have a maximum
WARNING
diameter of more than 0.3133 (intake) and 0.3150
(exhaust).
Dry cleaning solvent, PD4-680, used to clean
f.
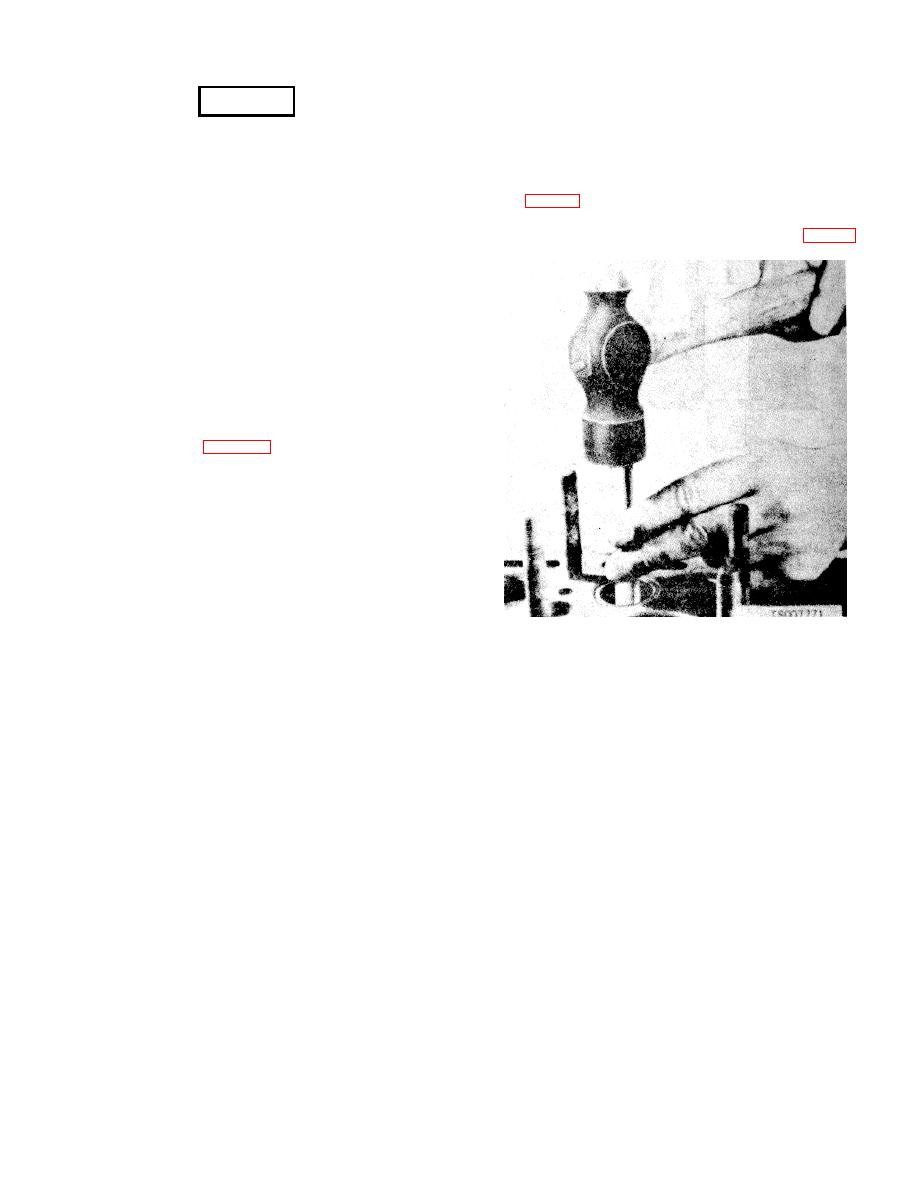
If the valve guides are worn or damaged, drive
parts is potentially dangerous to personnel and
out the guides from the combustion side, using a driver
property. Avoid repeated and prolonged skin
that is slightly smaller than the external diameter of the
contact. Do not use near open flame or
excessive heat. Flash point of solvent is 100 F.-
guide (fig. 9-7). With the driver, drive in new guides from
138 F. (39 C.-59 C.).
the combustion side. When properly seated, valve guide
tops will be 7/8 inches from the top of the block (fig. 9-8).
9-12.
Cleaning, Inspection, and Repair
a.
Clean the valves, valve springs, valve tappet
assemblies and valve stem caps with cleaning solvent P-
D-680 and dry thoroughly. Remove carbon deposits with
a wire brush.
b.
Clean the valve guides installed in the block
with a valve guide cleaner or wire brush. Remove all
lacquer and other deposits.
c.
Clean the valve seats with a wire brush.
d.
Inspect the valves for cracks, bent stems,
distortion, and wear (table 9-1). If the valves are not
seriously damaged, regrind them. After grinding, the
valve head thickness must be at least 50 percent the
thickness of a new valve. Replace the valves if they are
ground to less than this amount. Check the reground
valves on V-blocks with an indicator. The contact face
must be true with the stem to within 0.002 inch. Repeat
refacing operation if necessary.
e.
Check for loose or worn valve guides. Check
the internal diameter of the valve guide with a telescope
gage and a micrometer. Replace guides that are worn to
Figure 9-7. Removing Valve Guides.
9-7
|
|
Privacy Statement - Press Release - Copyright Information. - Contact Us |
