 |
|||
|
|
|||
|
|
|||
| ||||||||||
|
|
 (k) Tighten the cylinder head capscrews to
Service the hydraulic system as instructed in LO
a torque of 110 ft Ibs. Refer to paragraph 3-12 for
10-3930-624-12 in TM 10-3930-624-12. Install
the proper tightening sequence.
the radiator ( T M 1 0 - 3 9 3 0 - 6 2 4 - 1 2 1 a n d p o u r
coolant into the engine cooling system and check
points o f a d j u s t m e n t , m a k i n g t h e n e c e s s a r y
for leaks.
corrections.
(10) Install the counterweight.
(17) Install the rocker arm cover.
(11) Fill the crankcase to the proper level with
(18) Install the side panels and hood.
lubricant specified in LO 10-3930-624-12.
However. if the engine has been rebuilt, or a new
2-9. Transmission
engine was installed, fill the crankcase with six
a. Removal.
quarts of the specified lubricant. Pour an additional
(1) Remove the floor plate, toe plate, seat and
quart of lubricant over the rocker arm assemblies
support, battery and battery case, and one corner
and cylinder head components to ensure initial
post.
lubrication of valves and push rod mechanism.
(2) Refer to TM 10-3930-624-12 and drain
(12) Adjust the valve clearance. Refer to TM
the oil from the transmission.
10-3030-024-12.
(3) Disconnect the cooler lines at the bottom
(13) Install the battery case and battery.
and right side of the sump.
Comment the battery cables.
(4) Label and disconnect the shift linkage (fig.
(14) Check to make certain that all control
linkage, lines. and hoses are properly installed, and
(5) Disconnect the universal joint at the
that all capscrews and bolts are tightened.
transmission.
(15) Install the floor plate and toe plate.
(6) Remove the capscrews and lockwashers
Install the front grille seat and seat support.
which secure the converter housing to the flywheel
(16) If the engine has been rebuilt, or if a new
housing. Use a suitable tool to rotate the flywheel.
engine has been installed, operate the engine on the
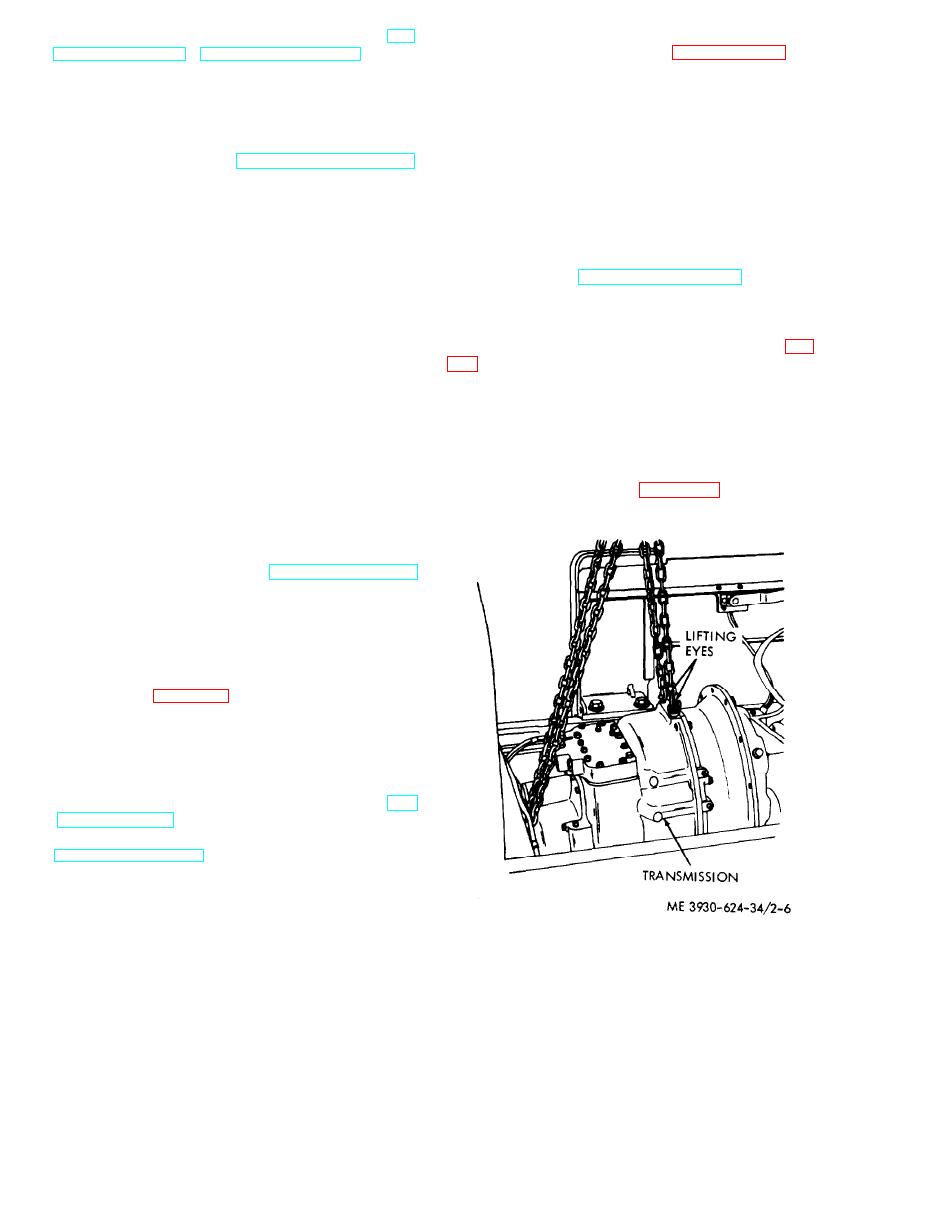
(7) Attach a lifting chain and chain hoist to the
following run-in schedule.
transmission as shown in figure 2-6, and remove
(a) Inspect the air cleaner to determine if it
from the truck.
has been properly serviced. Refer to TM 10-3930-
024-12 for service information.
(b) Lubricate all points where lubrication is
required. Refer to the current LO 10-3930-624-12.
Warning: If the engine is run indoors,
pipe the exhaust gases to the outside.
(c) Start the engine and allow to run at
approximately 600-700 rpm. Check the oil pressure
gage. If the gage does not register during the first
30 seconds after starting. stop the engine at once
and refer to table 2-1, Troubleshooting.
(d) Check for oil. fuel, and coolant leaks.
Shut down the engine and repair any leaks.
is not indicated, check the electrical system for
grounds. shorts. or loose connections.
(f) Check the engine timing. Refer to TM
10-3930-624-12.
(g) Check the carburetor setting. Refer to
TM10-3930-624-12.
(h) After the engine has reached normal
operating temperature (165 - 185F), check the
valve clearances.
(i) A run-in period of six to eight hours is
recommended. Start with no load and gradually
Figure 2-6. Transmission removal.
inerease the engine load to full load for the last two
hours.
(8) Remove the mounting hardware which
(j) At the end of the run-in gradually slow
secures the torque converter to the flywheel. Note
down the engine and allow it to idle at 500 rpm for
the number of shims on the converter pilot and
a few minutes, a l l o w i n g t h e e n g i n e t o c o o l
flywheel.
gradually. Shut down the engine.
2-10
|
|
Privacy Statement - Press Release - Copyright Information. - Contact Us |
