 |
|||
|
|
|||
|
|
|||
| ||||||||||
|
|
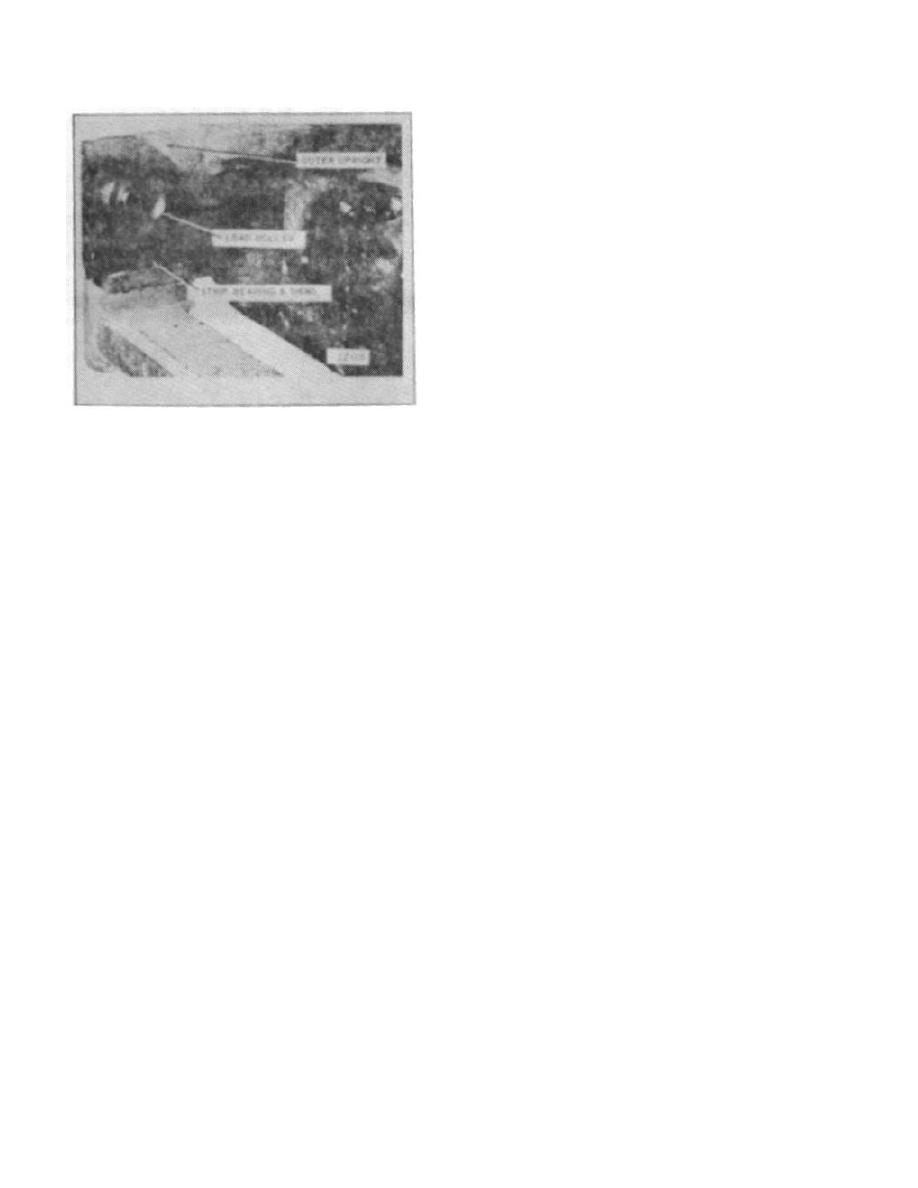 UPRIGHTS
NOTE:
Do not match mark the right rear Iatch and shaft. It
is not necessary, and in doing so, confusion
between front and rear latch may be caused.
15. Pull the inner upright out of the top of the outer
upright, only if necessary.
D. CLEANING AND INSPECTION
1. All parts except the bearings may be steam
cleaned or cleaned with solvent.
2.
Check all sliding surfaces for roughness.
Remove slight imperfections with sandpaper. If defects
cannot be removed, replace the defective unit.
3. All welds should be carefully checked for cracks,
Figure 13.
especially around the stub shafts and hangers. Repair
as necessary.
10. Unscrew the crosshead stop screws from the
bottom of the crosshead guide rails.
Slide the
4. Inspect the strip bearings for wear. Replace the
crosshead out the bottom of the rails. Remove the snap
bearings, when the small indentations are nearly gone.
ring retaining each chain sheave. Pull the sheaves from
If the O-rings will no longer retain the bearing strip,
the crosshead shafts,
replace with new rings.
11. Remove the snap rings and pull the upper chain
5. Check the fit of each latch shaft in the respective
sheaves from the shafts on the box.
bushing. The latch should rotate without binding, Some
side play is permissible as long as the latch function is
12.
Unscrew the capscrews and remove the
not hindered.
lockwashers and retaining plates securing the chain
sheaves to an intermediate crossmember of the inner
6. Inspect roller surfaces and contacting surfaces
upright. Pull each sheave from its respective shaft.
for galling, unevenness and indications of sticking or
stuck rollers. A defective roller is sometimes detected
13. Remove the snap rings from each side of the
by long rough grooves or gouges on the rolling surfaces
bearings in the sheaves that need new bearings. Press
of the adjacent upright.
out the defective bearings.
NOTE:
7. Make sure that all ground finishes, such as tilt
Do not remove the latches unless they are
cylinder rods, are free of rust, pits and nicks. In most
defective, loose on the shafts, or the shafts
cases, if these conditions exist, they can be dressed to a
and bushings are worn.
smooth finish with fine emery cloth or sand paper. Wipe
clean and lubricate with light oil.
14. Match mark the front latch and shaft. Remove
the spring an pin. Punch the shaft out r)of the latch,
with a soft drift punch. Remove the remaining rear latch
in the same manner.
B-175
|
|
Privacy Statement - Press Release - Copyright Information. - Contact Us |
