 |
|||
|
|
|||
|
|
|||
| ||||||||||
|
|
 STEERING
lubrication
and
inspection
for
looseness. Looseness due to wear
is determined by grasping the tie rod
and attempting to move it relative to
the stud.
SPINDLE (Fig. 4)
A. REMOVAL
1. Remove wheel. Disconnect the tie rod. Unscrew
nut from king pin retainer pin. (Fig. 4) Knock out
retainer pin.
2. Remove the bearing cap (Fig. 4) or break out
the end of the upper needle bearing; then, using a bar of
slightly smaller diameter than king pin and hammer,
Figure 10.
drive out king pin.
3. Remove the spindle and remainder of the upper
5. Install upper bearing. Secure king pin by driving
bearing. Remove lower bearing if end was broken out
retaining pin into position, and securing it with the nut.
during king pin removal.
NOTE:
B. INSTALLATION
Install upper and lower bearings, flush with
inner surfaces of the axle arms. (Fig. 7)
1. Lubricate all parts before installing. Place
spindle and thrust bearing in position. Thrust bearing is
SUPPORT BEARINGS
placed between the spindle and axle upper member.
A. REMOVAL
2. Align spindle, thrust bearing and axle bore. Push
king pin into position until the retainer pin holes are
1. Raise truck sufficiently to remove pressure on stub
indexed with those of the spindle.
shafts. Mark front and rear caps.
3. Push retaining pin into bore sufficiently to hold
2. Pry axle to the rear (Fig. 11) and measure between
king pin to position.
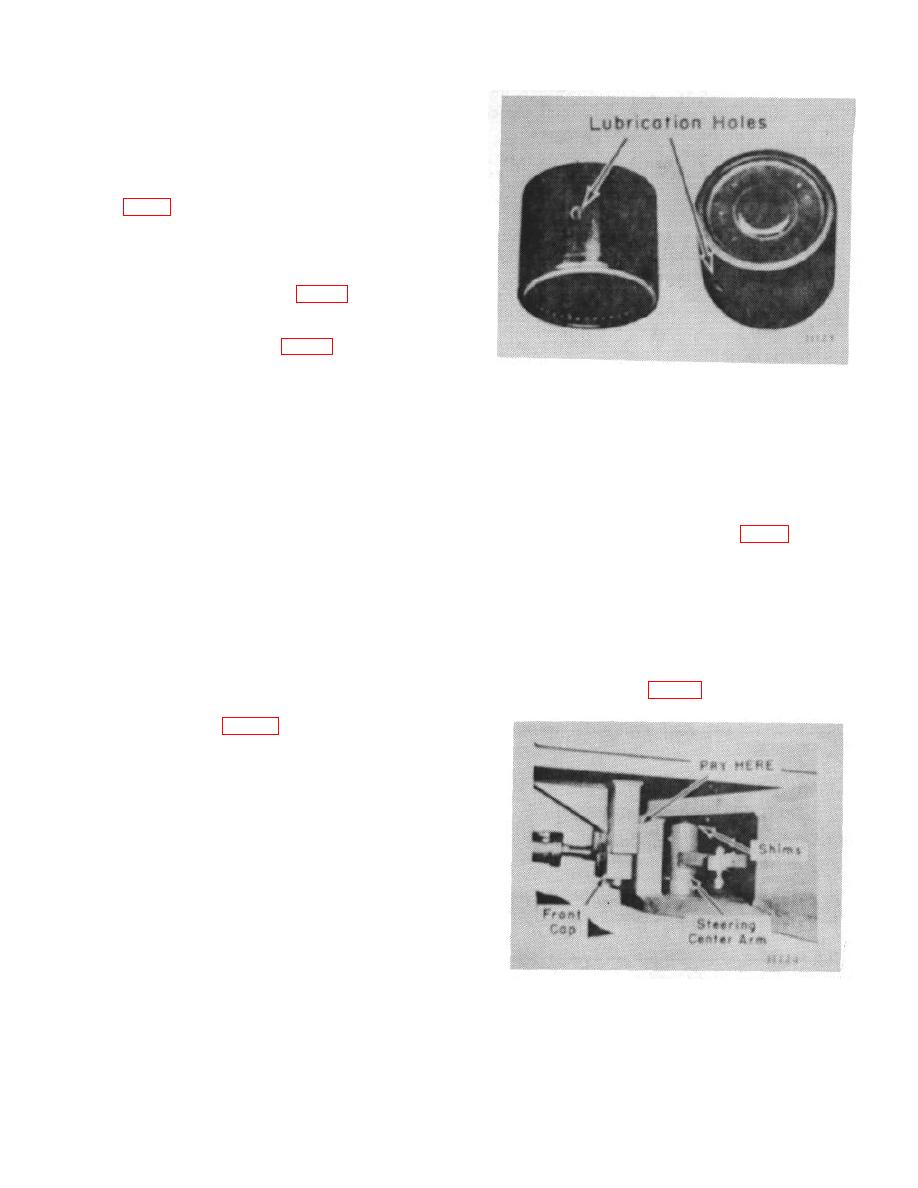
4. Align lube holes (Fig. 10) of the lower bearing
with grease fitting on spindle. Press lower pin bearing
into place until bearing end almost contacts the king pin
surface. The bearing can be pressed into position by
placing a jack under the bearing and axle.
CAUTION:
Whenever needle bearings are removed, they
must be replaced with new ones. Do not use
old bearings as microscopic damage occurs
during removal.
Figure 11.
B-163
|
|
Privacy Statement - Press Release - Copyright Information. - Contact Us |
