 |
|||
|
|
|||
|
|
|||
| ||||||||||
|
|
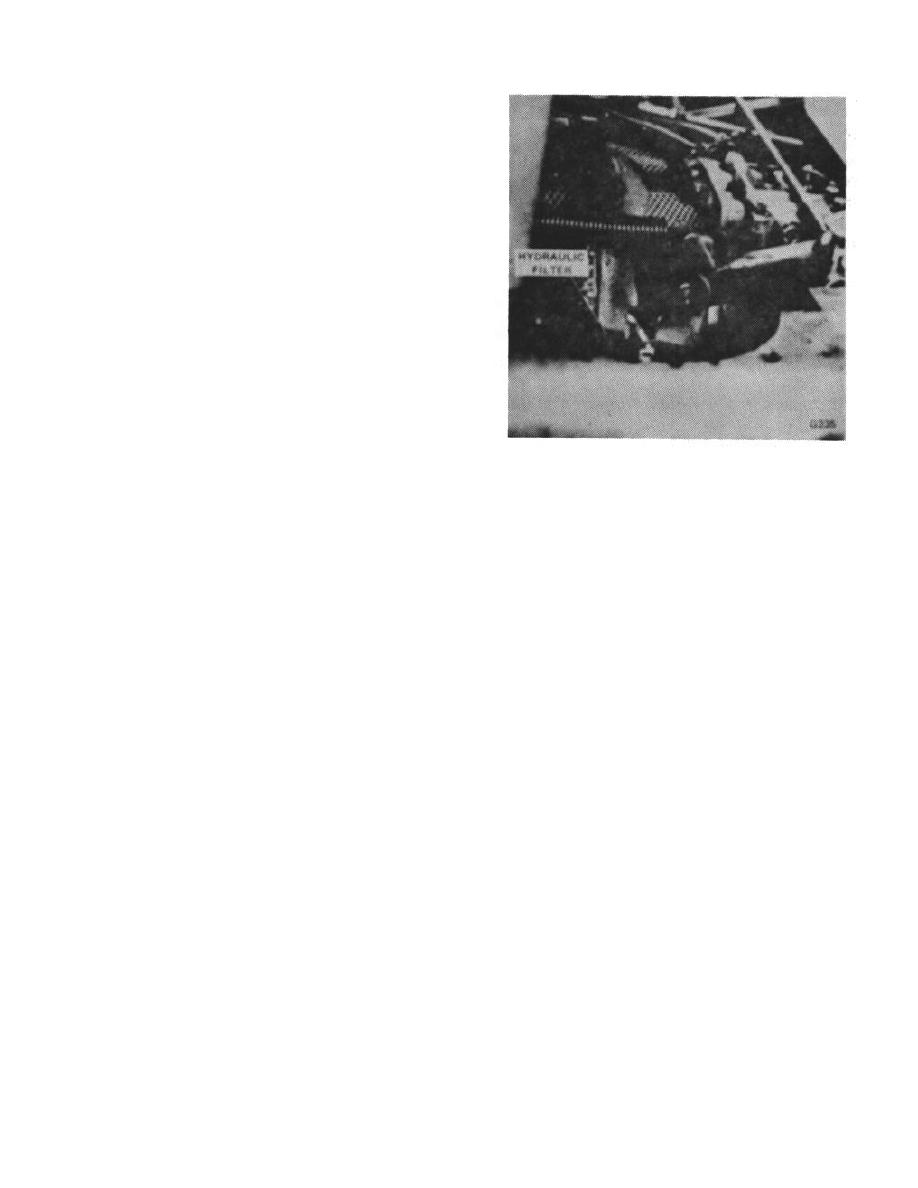 HYDRAULIC
obtained, hold screw and tighten jam nut. Install and
tighten acorn nut.
5. Remove the gauge and screw the plug into the
test port.
H. TESTING
1. Operate the spool farthest from the relief valve
to a power position and hold against the relief valve.
Check all external port connections and seals for
possible leakage.
2. Spool Operation
Operate each spool on the valve to its power position.
Spools should move from the power position to neutral
without any hesitancy.
3. Check Valve Leakage Test
Figure 12.
Operate each spool in its power position under load,
B. REMOVAL
until about half the stroke of the cylinder is reached.
Return the spool to neutral position and again apply load
1. Drain the oil from the tank by removing the
to cylinder. There should be no cylinder drop when the
drain plug located in the bottom of the tank toward the
load is again applied. With the cylinder port still under
rear.
load, stop pump flow to the control valve by either
turning off the test stand pump motor or the vehicle
engine, and carefully move the valve spool from the
2. Disconnect all lines and hoses. Cap or plug all
neutral to the power position. In the power position the
openings to prevent the entrance of foreign material.
load should remain stationary.
If load does not remain stationary, the check valves
3. Remove the battery and battery tray.
should be repaired.
4. Remove the tank mounting bolts and lift the
OIL TANK
tank from the truck.
A. GENERAL
C. CLEANING AND INSPECTION
The hydraulic oil tank is of welded steel construction,
bolted into the right hand frame channel, (Fig, 12) The
1. With the filter removed, inspect the tank for
tank is equipped with a fill pipe with breather cap and
foreign matter.
screen strainer, a bayonet gauge, full-flow filter, drain
plug and internal baffles.
2. Steam clean the tank and dry thoroughly.
3. Inspect for leaks.
NOTE:
After welding the tank, clean welds
completely and remove scale, slag or
any other foreign material from the
inside of the tank.
B-153
|
|
Privacy Statement - Press Release - Copyright Information. - Contact Us |
