 |
|||
|
|
|||
|
|
|||
| ||||||||||
|
|
 BRAKES
increased to .005 inch over standard. Pressure marks
and discolorations 'may be polished out with crocus
cloth. Make sure intake and by-pass ports are open.
The by-pass port may be probed with a soft iron wire.
NOTE: Burrs in the by-pass port are caused cy
honing the cylinder wall and probing the by-pass
port.
These must be removed, otherwise, the
primary cup may be damaged during assembly or
brake operation.
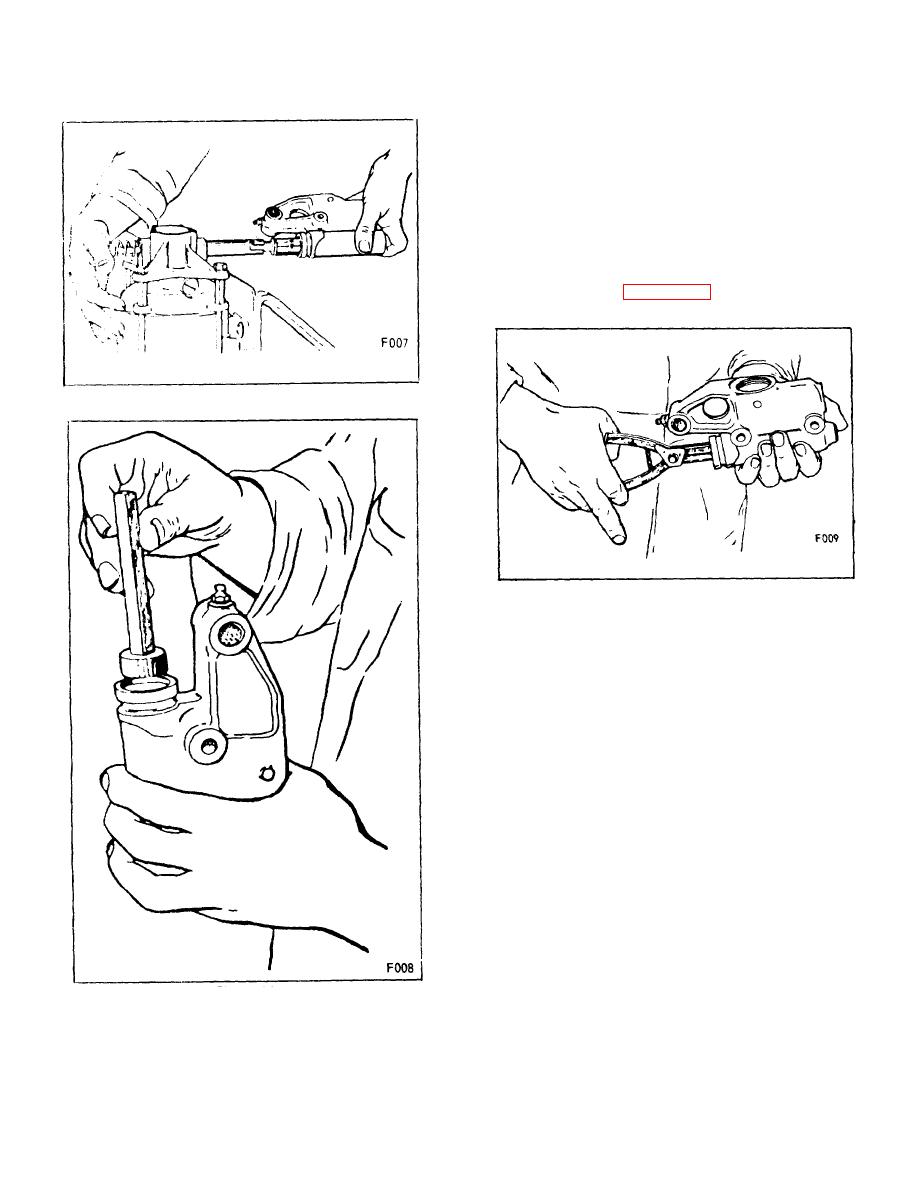
Figure 12 illustrates using a
Wagner de-burring tool.
Figure 10.
Figure 12.
4. Check piston bearing surfaces for scratches or
corrosion and rubber parts for swelling, softening and
tackiness. The spring must be free of corrosion and
pits. Make sure the vent in the filler cap is open.
E. ASSEMBLY
1. Lubricate all parts including the cylinder bore
with brake fluid.
Assemble parts in the opposite
sequence of disassembly, makeing sure the lip of the
primary cup is toward the fitting end of the cylinder. Be
certain the lock wire is firmly seated in the master
cylinder groove.
2. After cylinder has been assembled, purge with
clean hydraulic brake fluid. To purge cylinder: Fill the
reservoir with fluid.
Figure 11.
B-134
|
|
Privacy Statement - Press Release - Copyright Information. - Contact Us |
