 |
|||
|
|
|||
|
|
|||
| ||||||||||
|
|
 ENGINE
timing, remove distributor cap and
record rotor position.
Remove the distributor, the coil mount bracket, the
governor spring bracket, and the spark plugs. Loosen
and remove the nuts holding the cylinder head to the
block. Remove the head from the engine.
B. CLEANING AND INSPECTION
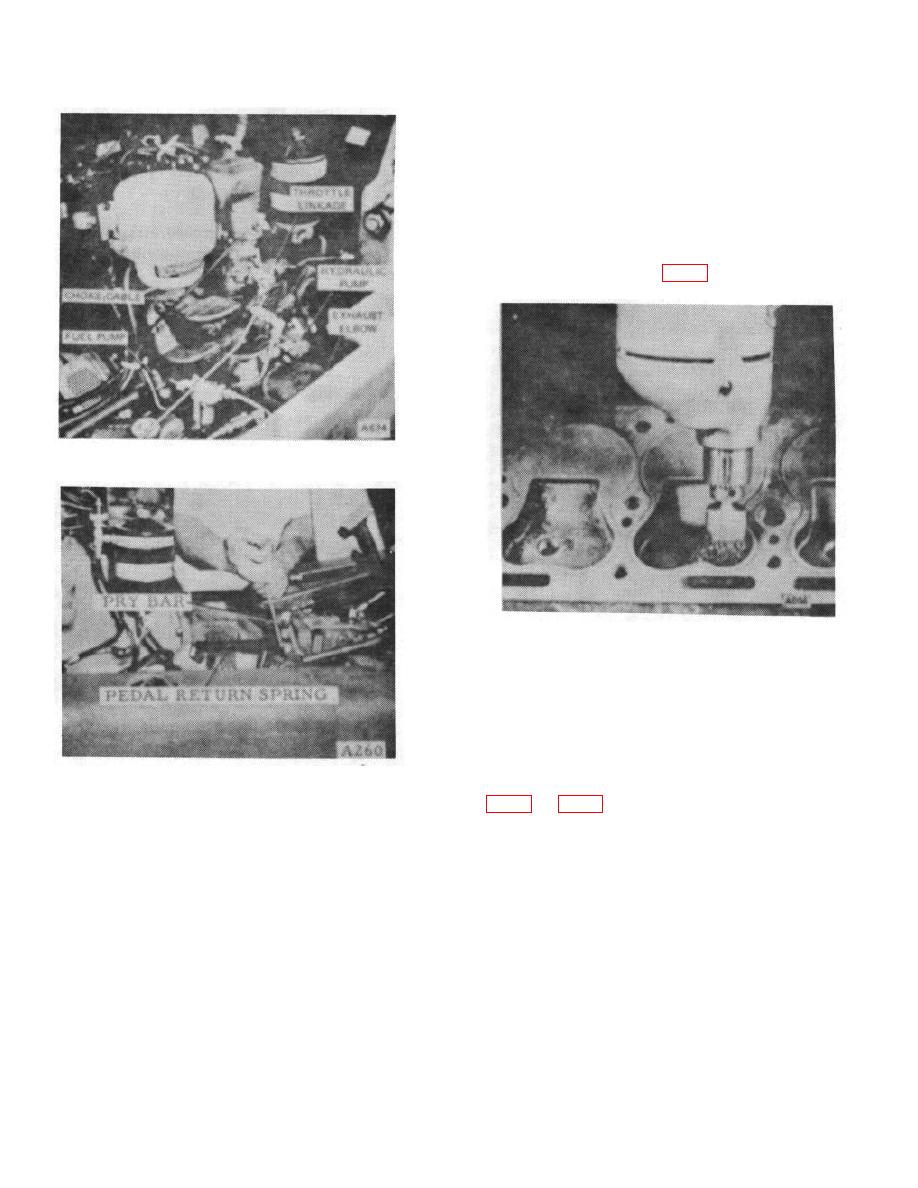
1. Remove all carbon from combustion areas, using
a scraper and wire brush. (Fig. 6)
Figure 4.
Figure 6.
Clean the cylinder head thoroughly with a solvent or
degreasing solution and blow it off with compressed air.
Make sure the gasket contact surface of the head is
clean, smooth and flat. Check flatness with straightedge
and feeler gauge in three positions lengthwise and five
crosswise. The maximum permissible is .004" low in the
center lengthwise, gradually decreasing toward the
Figure 5.
ends, or .003" crosswise or in localized low spots.
oil cooling hoses at the valve and cap. Remove the two
front engine mounts nuts. Attach a hoist and support
2. Inspect for cracks. Wipe planed surface with a
the engine weight. Place a block beneath the converter
rag saturated with kerosene, wipe head dry then tap
housing and remove the capscrews holding it to the
lightly throughout entire surface.
Cracks will be
engine converter housing adaptor plate. Lift the
indicated by the kerosene being vibrated out of the
engine from the truck.
crack and appearing on the planed surface.
CYLINDER HEAD
A. REMOVAL
NOTE:
To aid in obtaining correct ignition
B-2
|
|
Privacy Statement - Press Release - Copyright Information. - Contact Us |
