 |
|||
|
|
|||
|
|
|||
| ||||||||||
|
|
 TM 10-3930-242-34
tests. Remove plunger from injector as follows:
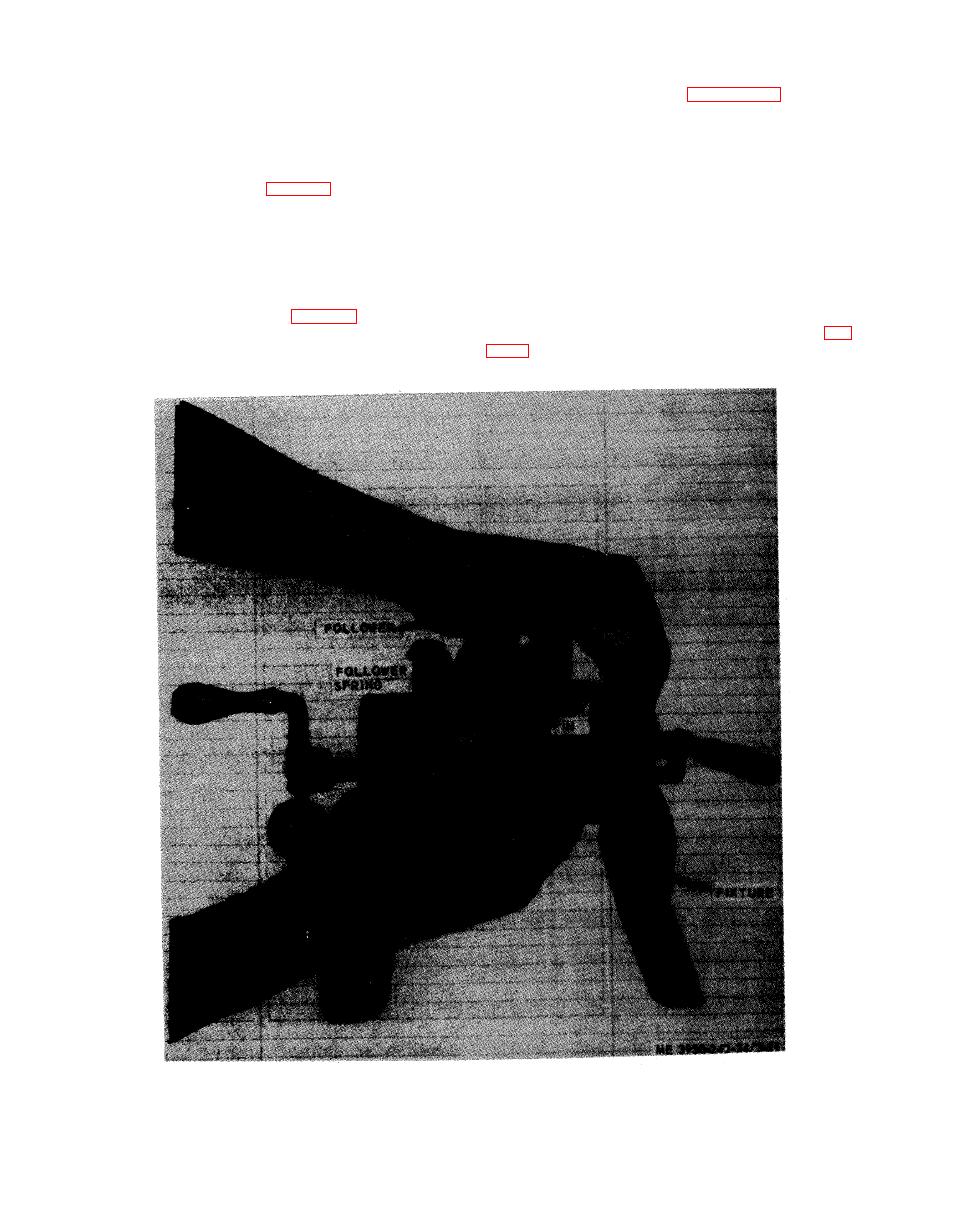
(a) Support the injector, right side up in
a n d 3-25 and disassemble the fuel injector in
h o l d i n g fixture.
n u m e r i c a l sequence.
e. Cleaning and Inspection.
(b) Compress follower spring; then using
(1) Wash all parts with clean fuel oil and dry
a screwdriver raise spring above stop spring
w i t h clean, dry compressed air.
and withdraw the pin (fig. 3-21), Release spring
(2) Clean out all passages, drilled holes and
gradually.
s l o t s in the injector.
(c) Remove the injector from holding fix-
CAUTION
t u r e and turn injector up side down, to prevent
Care must be exercised when inserting
entry of dirt in injector, and catch spring and
reamer in spray tip to avoid contact in
plunger in hand.
needle valve seat in tip.
( 3 ) Clean the spray tip with reamer (fig
or damaged, replace the plunger and bushing. If
the plunger is in good condition, reinstall
r e m o v e carbon deposits.
p l u n g e r and follower.
|
|
Privacy Statement - Press Release - Copyright Information. - Contact Us |
