 |
|||
|
|
|||
|
Page Title:
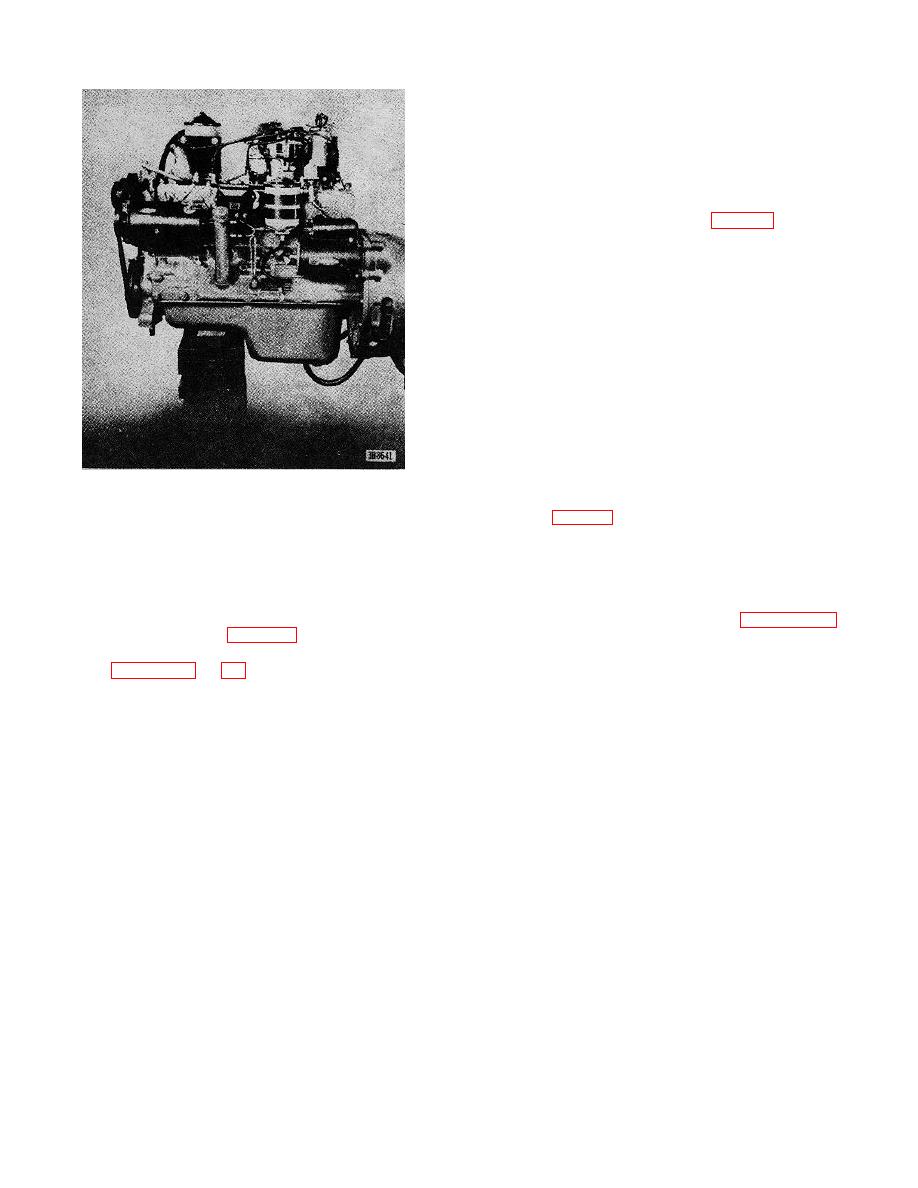
Figure 13. Engine removed from truck, tight view. |
|
||
| ||||||||||
|
|
 TM 10-3930-222-20
(6)
Remove the bolts (13), washers (9), and
nuts (8) that secure the filter in the bracket
and separate the filter from the bracket.
b. Disassembly.
(1)
Unscrew the bolt. (1, fig. 18) and remove
cover bolt gasket (2), cover (3), and
gasket (4) from the filter body (6).
(2)
Remove the cartridge (5) from the body.
c. Cleaning and Inspection. Clean the filter body
with SD and inspect the filter assembly for cracks,
broken mounting bracket, or stripped threads.
d. Assembly. Reverse procedures in b above using
a new cartridge and gasket.
e. Installation. Reverse procedures in a above.
20. Oil Filter Cartridge
Figure 13. Engine removed from truck, tight view.
a. Removal.
Remove the cartridge from filter
(4)
Inspect the head for cracks, holes, or
assembly (par. 19b).
warpage.
c. Installation.
b. Inspection and Installation.
(1) Reverse procedures in a above, using a
(1) Inspect the oil filter for oil seepage.
new gasket.
(2) Inspect the hose and fittings for leaks.
(2) Tighten each cylinder head nut to 35 to 40
(3) Install a new element and gasket by
foot-pounds
following
the
reversing procedures in paragraph 19b.
sequence in figure 16.
19. Engine Oil Filter Assembly
21. Oil Pan and Gasket
Refer to figures 17 and 18 and remove the engine oil
filter as follows:
a. Removal.
(1) Remove oil pan drain plug and drain the
a. Removal.
oil pan.
(1) Remove
the
oil
pressure
switch
(2) Remove the bolts and lockwashers that
transmitter from the oil filter.
secure the pan to the block and remove
(2) Disconnect the inlet oil tube assembly (14,
the pan and gaskets.
fig. 18) at the fitting (15) on the filter.
b. Cleaning. Clean the pan by washing in SD and
(3) Disconnect tile outlet hose assembly (7) at
scraping sludge and carbon from the pan.
the engine crankcase.
(4) Remove the outlet hose assembly from
c.
Installation.
the filter if necessary.
(1) Make certain that gasket surfaces are flat
(5) Remove the bolts (11) and lockwashers
and clean.
(12) that secure the filter bracket (10) to
(2) Install the oil pan by reversing procedures
the mounting bracket 52 and remove filter
in a above using new gaskets.
and bracket assembly from the mounting
bracket.
52
|
|
Privacy Statement - Press Release - Copyright Information. - Contact Us |
